Showing posts with label Holidays. Show all posts

Friday, June 6, 2014

Buttermilk Baked Doughnuts

Happy doughnut day! (Yes, that is actually a day....)

I made classic glazed doughnuts a while back (recipe HERE) and while they were super fun to make, I decided that I am actually much more of a baked doughnut fan. They are a bit healthier (around 150 calories!), and much less time consuming to make. So, in honor of doughnut day, get baking! 


Cinnamon and Sugar Buttermilk Baked Doughnuts


Ingredients:
Nonstick cooking spray
1 cup all purpose flour flour
1 cup whole wheat flour
1/2 cup granulated sugar
1 1/2 teaspoons baking powder
1/2 teaspoon salt
3/4 cup low-fat buttermilk
2 large eggs
1/4 cup honey
2 tablespoons melted butter
1 tablespoon vanilla extract

For Topping:
Equal parts cinnamon and sugar


Method:
Preheat oven to 425°. Lightly coat a doughnut pan with cooking spray.
Combine flours and ingredients through salt in a large bowl, stirring well with a whisk.
Combine buttermilk, eggs, honey, butter, and vanilla, stirring well with a whisk. 
Add buttermilk mixture to flour mixture; whisk just until combined. 
Spoon batter into doughnut pans, filling two thirds full. 
Bake in middle of oven until doughnuts spring back when touched and are golden on bottom (about 8 minutes). 
Let cool in pan slightly, about 4 minutes, and then remove doughnuts carefully from the pan. 
While the doughnuts are still warm, roll them in cinnamon and sugar mixture to coat.


Saturday, April 5, 2014

Funfetti Birthday Cake Ice Cream

I'm not really a birthday cake person. I know, I have lost my mind. Here's the thing... to me, the best part of birthday cake is the ice cream that goes on top. So, obviously the best and most logical thing to do is mush them both together (frosting, sprinkles, and all!) and make, well, for lack of a cooler thing to say.... a party... in your mouth! I am so serious. This is so good. 


Ingredients:
2 cups heavy cream
1 cup whole milk
3/4 cups sugar
2 tsp vanilla
1 tsp salt
2 cups funfetti cake, baked according to boxes instructions and broken into small pieces (not crumbs)
3/4 cup vanilla frosting (I used pink because it is pretty!)
1/2 cup rainbow sprinkles

Method:
In a mixing bowl, combine 2 cups cream, salt and vanilla. Set aside. 
In a small saucepan, combine sugar and 1 cup milk. Stir constantly over medium heat until sugar has dissolved. Cover with plastic wrap and place in fridge for 2-3 hours until cooled. Once the mixture has chilled, follow the instructions of your ice cream maker to make the base ice cream. With 5 minutes left of churning, add in your sprinkles.

Meanwhile, put your icing into a pastry bag with any sized tip you like. Once your ice cream is done, gently stir in your chunks of cake. Spoon one layer of ice cream into your container. Then, add one layer of frosting from your pastry bag. You'll be doing 3 layers total so make sure you only use about a third of your frosting. Repeat with a layer of ice cream. And a layer of frosting. Add your last layer of ice cream and top with your last layer of icing.

Freeze for 2 hours (more for firmer ice cream) and enjoy!


Tuesday, January 21, 2014

Zucchini Blossom and Burrata Pizza

I started writing this blog yesterday. 

I failed. 

I tried again this morning. 

0 for 2. 


8 Hours and 2 Hangover Curing Meals Later...

I'm finally making it happen. But, I have to be honest, sometimes I just don't have anything to say. Which is ok, because sometimes I think Rich thinks I am prettiest with my mouth shut. So, silence really can be golden. Or ginger. 

So here it is... short, sweet, and to the pizza. A basic recipe for delicious, healthy(ish), homemade pizza! You can, of course, add toppings (and calories) as you see fit. My two favorite toppings are zucchini blossoms and burrata cheese. You can find zucchini blossoms at your local farmer's market and burrata cheese (the creamy middle of mozzarella) can be found at most grocery stores. And, if you think it's weird to put flowers on your pizza, you should just shut your mouth and try it.


Simple Pizza Dough

Ingredients:
4 cups of all purpose flour, plus more for dusting
1 tsp dry active yeast
1 1/2 cups warm water (about 110 degrees)
1 1/2 tsp salt
2 tbsp olive oil

Method:
Preheat the oven to 500 degrees. Place a baking stone on the lowest rack to preheat with the oven for 1 hour.

Dissolve the yeast in warm water and set aside. 

Combine the flour,and salt in the bowl of a stand mixer. While the mixer is running, add the water and 2 tablespoons of olive oil and mix on medium speed until the dough forms into a ball.

Scrape the dough onto a lightly floured surface and gently knead into a smooth, firm ball. Divide the dough into 4 equal balls and rub a small amount of olive oil onto each ball to keep them from forming a skin. Place the dough balls under a dish towel, on a lightly floured surface and let them rise for about 45 minutes. 
While the dough is rising, make the pizza sauce.


Pizza Sauce

Ingredients:
8-10 tomatoes, cut in halves
2 cloves garlic, peeled and smashed
2 tbsp olive oil
1 tbsp water
Salt and Pepper


Method:
Heat olive oil in a medium skillet.

Add the tomatoes, garlic, and water. 

Cover and bring to a simmer. 

When the tomatoes are beginning to cook down, about 20 minutes, remove the skins, they should slide off easily, and dispose. Once all of the skins are removed, remove and dispose the garlic cloves and crush the tomatoes until they are smooth. 

Continue cooking, uncovered for another 25 minutes until the liquid has evaporated and the sauce is a deep red color. 

Add salt and pepper to taste. 


To Assemble Pizzas

Roll out dough onto a floured surface to desired shape and thickness. I suggest rolling your dough super thin to get a nice, crispy, Italian style crust. 

Place rolled out dough on a preheated pizza stone** and quickly spoon pizza sauce onto dough and top with cheese. If you are using burrata, do not put it onto the pizza until AFTER the pizza is cooked or you will end up with a runny mess. 

If you are adding zucchini blossoms (or any other toppings) arrange them on the pizza and then place the pizza stone on the lowest rack of in the oven. 

Bake the pizza for 8-10 minutes until the crust is browned and the cheese is bubbly. I generally think that a properly cooked pizza looks a little over cooked. 

Remove the pizza from the oven. If you are adding burrata or fresh basil, sprinkle them onto right before serving!

Makes 4 pizzas

**If you do not have a pizza stone, no problem! you can bake the pizzas on a cookie sheet, just make sure to lightly oil the surface.


Saturday, January 4, 2014

Sous Vide Short Ribs and a Happy New Year!

Well, hello 2014!


You might remember me from way back in 2013. I know... it's been a while, but sometimes the very best things are worth waiting for! And also sometimes sitting down to write a blog seems so daunting you just decide not to do it. For MONTHS. But it's a new year, I've resolved to spend 2014 filling your computer screen with delicious new recipes, so here I am... ready for action with brand new recipes and some very fancy new Christmas presents.

It's not really news to anyone that Richard spoils me a little bit. Ok, a lot. And he really shines at Christmas time. I mean... REALLY shines... just like the beautiful copper pots that I found beneath the Christmas tree (no joke- I cried...best gift ever! (Until next year, of course!) If I learned one thing this Christmas, it was that my friends and family want to keep me in the kitchen and on the wine. I was gifted cases of wine (thanks mom and dad!), bottles of wine, gift cards for wine, and enough new kitchen toys to keep me busy and drunk for months. So message received... I get the less than subtle hint! Get back in the kitchen and get to work. Well between all the cookbooks, cookbooks, a few more cookbooks, the absolutely STUNNING copper pots (mentioned above and pictured below) and the fancy schmancy new sous vide Rich got me, I have plenty of sources for inspiration. 


A sous who now? A sous what now? A sous vide (sue-veed)... Yeah, I didn't really know what it was, either. I thought maybe the box had new running shoes in it, but no, quite the opposite (I think, I'm not sure what the opposite of running shoes are)! So, if you're curious, sous vide (French for "under vacuum") is a cooking method where food is vacuum sealed in airtight plastic bags and then cooked in a water bath at a low temperature (typically 130 degrees or so) for a longer than usual cooking time... up to 72 hours! Why? Because everything is cooked perfectly even and it stays INSANELY tender and juicy, thanks to the airtight seal. Annnnd the best part is, there's are no messy pots and pans to clean up after... brilliant!

Obviously, I needed to give this bad boy a go ASAP. Now, this recipe does take a little bit of planning ahead, because you have to start dinner 72 hours before you are ready to eat it. But, if I can manage it, you can, too! We happened to have some grass-fed bison short ribs in the freezer, because that's the life I live, one where exotic game meats just happen to be in my freezer. We had purchased them at our local farmer's market a few weeks back, and they turned out to be the perfect thing to test my new skills out on. I used my "go to" recipe for short ribs with a few obvious changes to adapt it to the sous vide cooking method and they turned out absolutely TO DIE FOR. (Fun fact: you can also find this recipe and a fun article on entertaining in the brand new edition of Indie Chick Magazine! Yup, I am published and in print! Woo! Find it HERE.)

One important note, bison tends to be much leaner than beef, so the ribs were naturally a little less decadent than normal grain fed beef short ribs. So, if you want to be healthy, go bison, if you want to be in heaven, go beef. After all, there's a reason that no one has ever said "Bison, it's what's for dinner."

No sous vide? No problem! I was in your shoes mere weeks ago! Just scroll down for the traditional preparation method, that's just as tasty. I served my short ribs over creamy polenta, and it was the perfect meal to kick off 2014 with my husby!


Sous Vide Method:

Ingredients:
1 bottle of dry red wine
8 short ribs (ask your butcher for the meatier ones!)
Olive oil
Kosher salt and freshly cracked pepper
4 cloves of garlic, smashed
1 onion, chopped
1 carrot, peeled and chopped
2 stalks of celery, chopped
2 sprigs of fresh thyme
1 bay leaf
1 cup beef stock
1 tablespoon balsamic vinegar

Method:
Preheat the water bath to 144 degrees. 
In a large saucepan, bring the wine to a boil and then light it on fire with a match. Once the flame dies down (it will take a couple of minutes) continue reducing the wine until you are left with half of the liquid. 

Generously season the short ribs with salt and pepper. Heat olive oil in a large skillet and brown all three meaty sides of each short rib. Do not rush this step... let the ribs get nice and brown! 
Once browned, set the ribs aside and sauté the vegetables until beginning to caramelize, about 8 minutes. 

Add the reduced wine, balsamic vinegar, and stock to the vegetables and let the mixture cool completely. Once cooled, add one cup of the wine mixture to the ribs and place them in a vacuum sealed bad (we use the food saver machine.)

Place the vacuum sealed ribs into the water bath and cook for 72 hours. 

When ready to serve, carefully open the sealed bags and set the ribs aside. Strain the wine mixture through a fine mesh sieve into a saucepan and reduce until the sauce coats the back of a spoon. Place the short ribs into the reduced sauce to reheat. 


Standard Method:

Ingredients:
8 beef short ribs (ask your butcher for the meatier ones!)
1 tablespoon dried thyme leaves
Freshly cracked pepper
½ cup olive oil
1 onion, diced
2 large carrots, peeled and diced
2 stalks of celery, diced
1 bay leaf
Sprigs of fresh parsley
Springs of fresh thyme
2 tablespoons of balsamic vinegar
3 cup of a hearty red wine
5 cups of beef stock
Kosher Salt


Method:
Season the short ribs with 1 tbsp ground thyme and freshly cracked pepper. Cover and refrigerate over night, or for at least a few hours. Bring the short ribs to room temperature. In a heavy Dutch oven, heat olive oil over medium heat. Brown the short ribs on all three meaty sides, making sure not to over crowd them. This may take a few batches depending on the size of your Dutch oven. Once browned, set the ribs aside. Turn the heat down and sauté the onions, carrots, celery, thyme, and bay leaves until caramelized, about 5-7 minutes. Add the balsamic vinegar and wine. This step is called “de-glazing” and means to scrape up all of the browned bits from the bottom of the pan. Reduce the liquid to half and then add the short ribs back to the Dutch oven. Add the beef stock so it is just covering the meat. Tuck in the parsley, cover, and braise in the oven at 325 degrees for about 3 hours, or until the meat is very tender. It should fall apart when pierced with a fork.


If you are preparing this ahead of time, you can stop here and continue the next steps just before serving.


Remove the short ribs from the pot and turn the oven up to 400 degrees. Place the short ribs on a baking sheet and brown them in the oven for about 12 minutes until they are caramelized. While the ribs are browning, strain the braising liquid and skim the fat. Reduce the braising liquid by half until it is thick enough to coat the back of a spoon.  


Pour the sauce over the ribs just before serving.


Where To Get a Sous Vide:
While they used to be prohibitively expensive for the home chef, the sous vide Rich got me is fantastic and pretty affordable ($199). For more info, or to order your very own, head on over to http://anovaculinary.com. Don't forget you'll also need to get a food saver or some sort of comparable vacuum sealing system as well. But it's not a bad thing to have in your kitchen arsenal, especially if you want to freeze meats and avoid freezer burn.


Happy New Year!


Tuesday, July 9, 2013

Stuffed Portobellos and 4th of July Shenanigans!

I am wishing everyone a Happy 4th of July today... on the 9th. The first Monday after the 4th of July.... this is Monday, right? Guess how long my weekend was..... like seven days, duh. There are several reasons for this. Most of them we won't go into (sorry, Mom) but I will say this: I have been in a food coma since Thursday.

I went into my favorite summer holiday with a bit of a bleak outlook seeing as BBQ food isn't always the most vegetarian friendly cuisine. I haven't had the best experiences with veggie dogs and bullshit burgers. Let's be honest.... tofu is possibly the worst thing EVER. So, rather than gagging my way through a garden burger from hell, I decided to step up my game and try something new.

Honestly, I had tried this recipe once before, but it did not go well. When I tell you to soak your cedar planks..... do it. Seriously. Soak them for as long as this recipe says... then do it longer. And then don't walk away from your grill for more that two seconds or else you will be greeted with uber dense briquettes of mushroom charcoal attempting to melt your grill from the inside out. Though our grill, our house, and my lovely ginger hair and eyebrows survived, it was a tragedy. We all know that Rich is the grill-master in this relationship... and thank God for that.


PART ONE: STUFFED PORTOBELLOS

cedar smoked portobello mushrooms


Ingredients:
1 cedar grilling plank
5 medium portobello mushrooms
1 tablespoon olive oil
1/2 cup chopped onion
4 cloves garlic
5 ounces chopped baby spinach
3/4 cup coarse breadcrumbs
3/4 cup shredded cheddar cheese
2 tablespoons chopped walnuts
1 tablespoon chopped fresh sage
1 tablespoon spicy brown mustard
salt and pepper to taste


Method:
SOAK the cedar planks. If you don't want to use planks and grill these.... you can totally do them in the oven at 350 degrees for 20 minutes.

Remove the stems from the mushrooms. Chop them and set aside. Scoop out the gills and discard them.

In a skillet over medium heat, heat the olive oil and cook the onions, mushroom stems, and garlic for about 5 minutes or until tender. Add the spinach and sauté until wilted, about 2 minutes. Remove the skillet from the heat and stir the bread crumbs, cheese, pecans, sage, and mustard until just combined. Season with salt and pepper to taste. Set aside.

On a charcoal or gas grill, place the cedar planks on an uncovered grill directly over medium heat for about 3 minutes or until the plank begins to smoke and crackle. While you are waiting for the planks to smoke, place the mushroom caps directly on the grill to give them grill marks (I forgot to do this, but you should...)

Place the mushroom caps on the planks, spoon the filling into the caps, and cover the grill for about 15 minutes or until the mushrooms are browned and the filling is heated through.

*This is the part where my first round of mushrooms caught on fire. Once again, I recommend keeping a close eye if you actually want to eat.

Transfer these beauties to a platter and serve!
Makes 5 stuffed mushrooms that will be gone in the blink of an eye!


PART TWO: THE SHENANIGANS


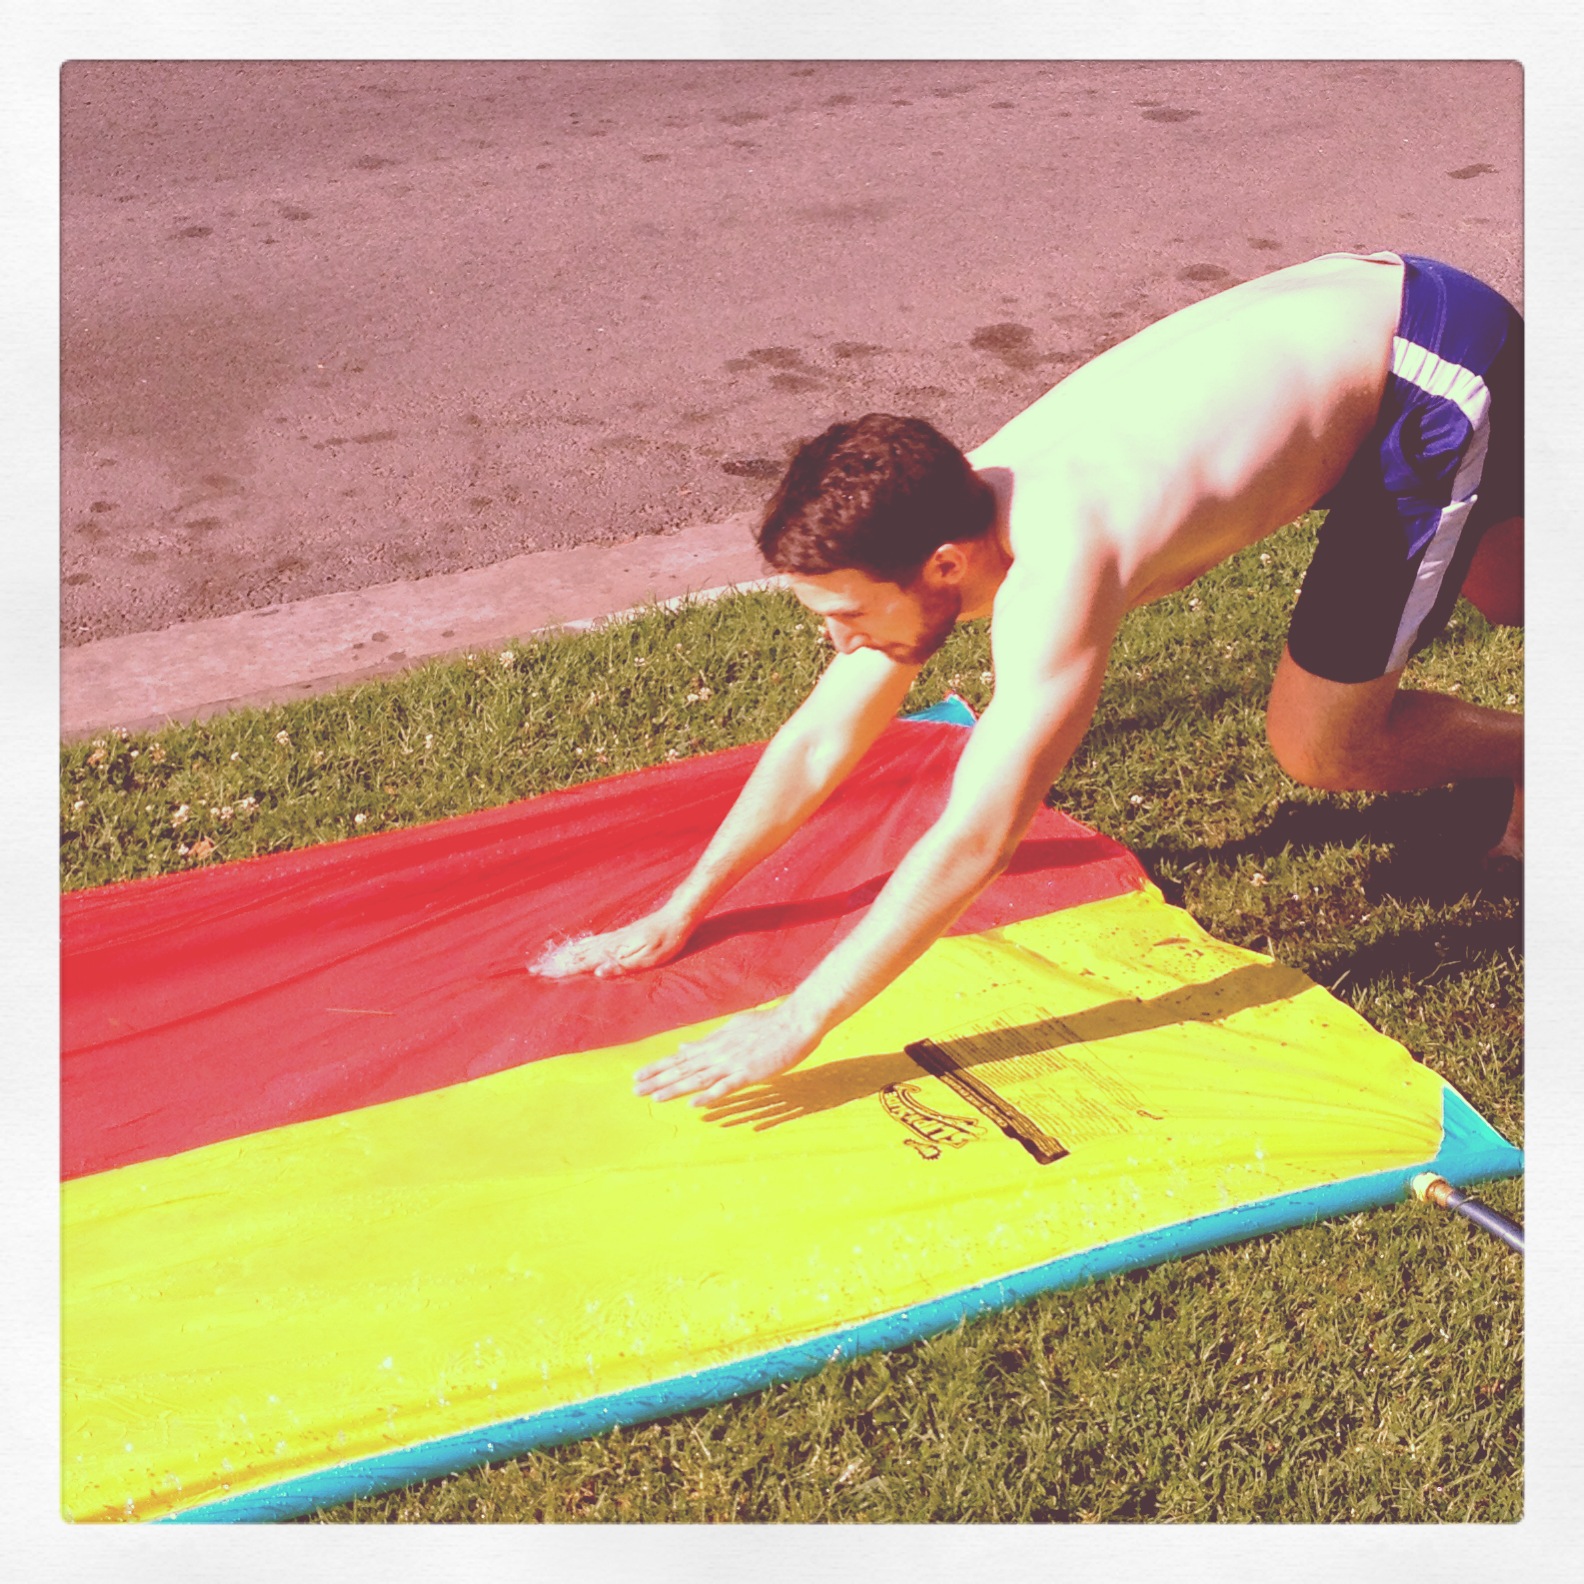
Lucky for you, and everyone that joined our summer festivities, these mushrooms pair perfectly with Jell-O shots and slip and sliding. Enjoy... I sure did. (Sorry again, Mom. You're welcome, everyone else.)


Friday, November 23, 2012

Sage & Cider Butter Roasted Turkey and a Happy Thanksgiving

I'm going to go ahead and admit this right off the bat.... the scene in our house is not a pretty one right now. On the dining room table are approximately 6 empty, post- turkey wine bottles, the kitchen counters are covered with half eaten pies and roasting dishes that, unfortunately, don't fit in the dishwasher, and on the couch sit 2 handsome, yet very hungover men (Richard and Marco, obvi) 7 puppies (we will get to that later) and 1 tired hostess with the sniffles (nope, still haven't kicked the post napa cold from hell, yet.) I guess that all means last night's Thanksgiving feast was a pretty huge success.


Thanksgiving is my absolute, number one, favorite day of the year. I get to show off and cook wayyyy too much food to enjoy with family and close friends while sitting at a beautifully decorated table that is nothing less than brag worthy (if I do say so myself.) It is just the perfect day. It kicks off the holiday season (for those procrastinators that decorate for Christmas after their turkey dinner) and it makes you feel downright mushy gushy and cheerful inside.

refurbished seating chart from our wedding....


This year's menu:
Deviled eggs with jalapeños and crispy pancetta
A fruit and cheese platter to make you weak in the knees
Caramelized beet salad with arugula and goat cheese


Sage and cider roasted turkey
Cranberry relish with a hint of ginger
Creamy mashed potatoes (my dad's specialty... I refuse to make them because he always will do it better)
Sausage and cornbread stuffing (compliments of my fabulous mother)
Sourdough and apple stuffing with leeks and bacon
Shallots roasted with white wine
Dill roasted carrots
Scalloped sweet potatoes with pancetta
Crispy roasted brussels sprouts
Balsamic glazed sweet potatoes with shallots

And for dessert......
Maple pecan pie
Spiced pumpkin pie


Needless to say, I made quite a substantial amount of food for 9 guests. Rich and I had the pleasure of spending Thanksgiving with my parents, my sister, and a few wonderful, close friends. While we wish so much that we were able to be with a few other family members as well (Bruce, Cindy, Matthew, and Jonathan) it was a beautiful evening to say the least! 


We also had a few unexpected guests......


Rich and I are currently fostering the most darling puppy family through Tails of the City Animal Rescue. A sweet mama and her three 3 week old puppies. Yes.... that face..... ah. 


mmm.

And.... although it is coming to you a day late, I will leave you with my absolute favorite turkey recipe. I have made this recipe for the last 4 years and it never disappoints! You can keep it in mind for next year!

Sage Butter-Roasted Turkey with Cider Gravy


Ingredients:
Turkey
tablespoons coarse kosher salt
    tablespoon dried rubbed sage
    1 16- to 18-pound turkey, rinsed, patted dry
    1/4 cup (1/2 stick) unsalted butter
    1/4 cup chopped fresh sage
    3/4 cup fresh refrigerated apple cider or fresh refrigerated apple juice

Gravy

cups turkey stock or low-salt chicken broth
    3/4 cup fresh refrigerated apple cider or fresh refrigerated apple juice
    tablespoons all purpose flour
    2 to 3 tablespoons Calvados (apple brandy) or applejack brandy
    tablespoon chopped fresh sage


Method:
Turkey
Rub salt and dried sage together in small bowl. Place turkey in roasting pan; sprinkle all over with sage salt. Cover pan with plastic wrap; chill turkey overnight.
Set rack at lowest position in oven and preheat to 375°F. Pat turkey dry. Tuck wing tips under; tie legs together loosely. Stir butter and chopped sage in small saucepan over low heat until butter melts. Brush all over turkey; sprinkle with pepper.
Roast turkey 1 hour; baste with any pan juices. Reduce oven temperature to 350°F. Roast turkey 45 minutes. Pour 3/4 cup apple cider over; turn pan around. Continue to roast turkey until instant-read thermometer inserted into thickest part of thigh registers 165°F, basting and turning pan occasionally for even cooking, about 1 1/4 hours longer. Transfer turkey to platter; tent loosely with foil and let rest 30 to 45 minutes (internal temperature will rise 5 to 10 degrees).


GravyPour all pan juices into large measuring cup. Spoon off fat that rises to surface. Transfer 2 tablespoons fat to heavy large saucepan; discard remaining fat. Place turkey roasting pan over 2 burners. Add 2 cups stock or broth and 3/4 cup cider. Bring to boil over high heat, scraping up browned bits. Boil liquid until reduced to 1 1/2 cups, about 6 minutes. Add mixture from roasting pan to degreased pan juices. If necessary, add enough stock to measure 3 1/2 cups stock mixture.
Place saucepan with turkey fat over medium-high heat. Add flour; whisk 2 minutes. Whisk in stock mixture. Boil until gravy thickens enough to coat spoon thinly, about 6 minutes. Whisk in 2 tablespoons Calvados, or more to taste, and sage. Season with salt and pepper.
Serve turkey with gravy.

It is moist, and tender, and delicious! And let's be honest, looks amazing as a centerpiece on the table! Always a crowd pleaser!


I hope everyone enjoys their leftovers today!


Friday, November 16, 2012

Perfectly Indulgent Hot Chocolate

Funny story.... my last post was written by a girl with the sniffles and here I am once again... sniffling.

As usual my immune system was compromised by over indulging in cabernet... only this time the crime took place in Napa, which may in fact be my new favorite city of all time. I have never eaten so much in my life, which is saying A LOT coming from me. My life will not be complete until Rich and I move there and have a chicken coop and a vineyard.

Anyways, the hubby and I have both been couch ridden having only pulled it together enough in the last 4 days to decorate for Christmas and spend our last pennies on soup from Erewon (the only place to ever buy soup if you are too lazy to make it.) I must say though, sniffles and all..... being shamed to the couch for my less than responsible behavior last weekend could be worse (see photo below and start being jealous.....)


Yes, it's true. Christmas came early in the Keith household. Buuutttt, before you start sending me hate-emails, I will have you know that our dining room is still decked out for Turkey Day- just as it should be. I would rather serve dry turkey that put the pumpkins back in storage just yet. 

So, we have a fire, a christmas tree, 3 snuggly pups (one wearing a Santa coat, obvi) the only thing that was missing was a steaming cup of hot chocolate, which in this house is completely unacceptable.......


to. die. for. hot chocolate. 

Ingredients:
4 cups 2% milk 
3/4 cup unsweetened cocoa powder 
1/2 cup brown sugar
1/4 cup raw sugar
1/4 teaspoon pure vanilla extract
marshmallows
whipped cream

Method:
Heat milk on low/medium heat. Do not boil. Add sugar, cocoa, and vanilla and stir constantly until everything is dissolved and hot.
Serve with marshmallows or whipped cream.... or go crazy and use both. 

This recipe makes quite a bit and it is very rich. I think it's enough for 3 or 4 servings. So, here's the best advice I will ever give you......


If your husband has decided to deny his sweet tooth.... put the extra hot chocolate it in the fridge and it's ready to go when you need it. There's nothing better than packet-free hot chocolate ready to go when you are. I mean... there's a few things better, but not many. 

A warning.... be careful heating it the microwave- if it boils over it is a very sticky mess. I always reheat on the stove.